-
Newest

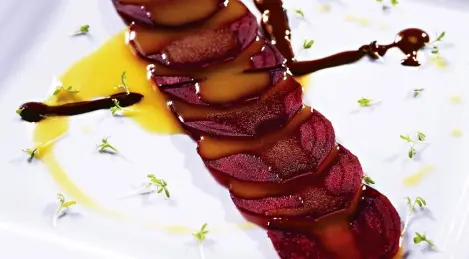
Light salmon roll
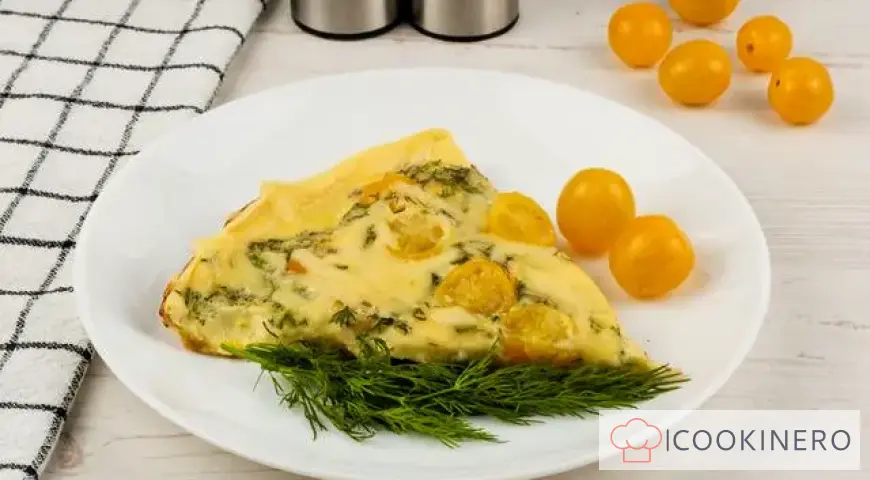
Omelette with cherry tomatoes and cheese
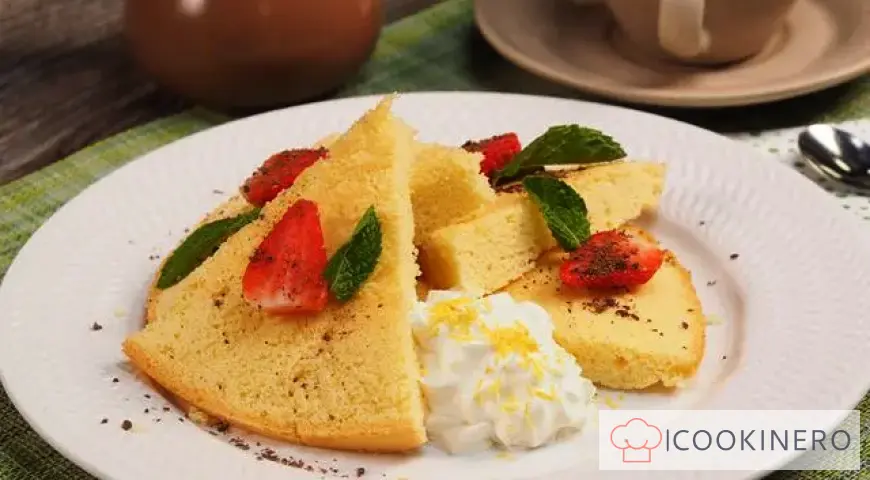
Rice sponge cake
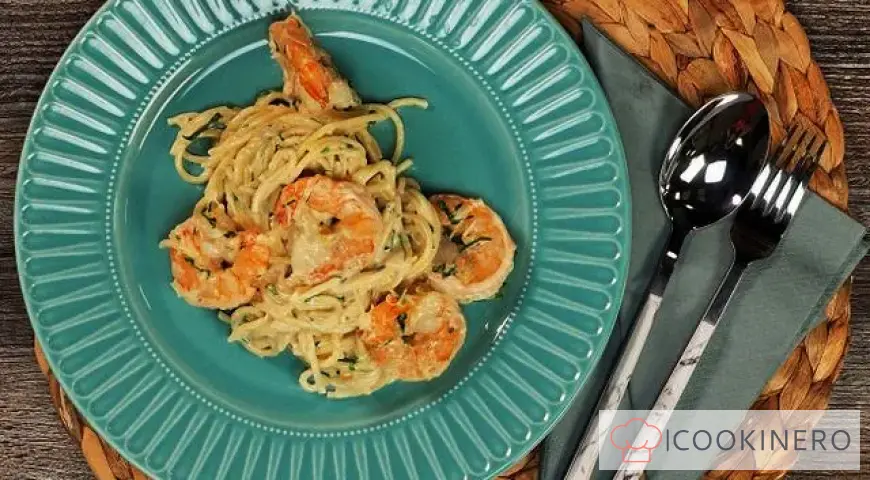
Spaghetti with shrimps in creamy garlic sauce
Cabbage with champignons
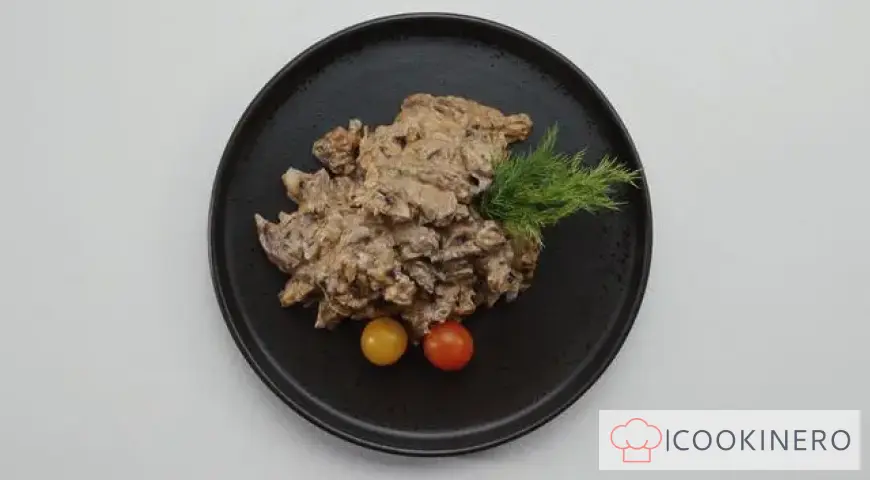
Beef Stroganoff with Mushrooms and Cream


Chicken Kiev in the oven

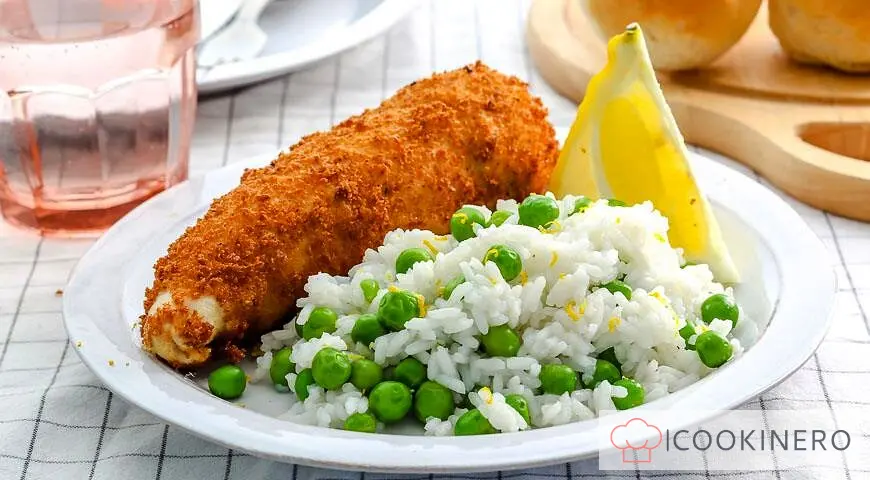
Few cook Kiev cutlets in the oven, and in vain, because the benefits of this method of heat treatment are many times greater than those of frying. In general, this dish is truly elite: it has nothing to do with inexpressive meatballs, which, under such a loud name, are sometimes prescribed in the menu of canteens. Under the crispy crust of real Kiev cutlets, the most delicate center is hidden, which, during the heat treatment, is saturated with fragrant oil with herbs. But that's not all! As soon as you cut the cutlet, a hot oily "puddle" will flow onto the plate, which in no case should be ignored. Collect it with a piece of bread and eat it with pleasure, sincerely thanks to the unknown author of this truly magical dish.
How to cook Chicken Kiev in the oven
Step 1

Cut the butter into cubes and leave for 30 minutes at room temperature. Wrap the bread in cling film and place in the freezer for 30 minutes.
Step 2

Prepare fragrant butter for cutlets. Peel the shallot and chop as finely as possible. Separate the parsley and tarragon leaves from the stems and chop. Toss the oil with shallots, herbs, lemon juice, a partial teaspoon of salt, and pepper.
Step 3

Shape the butter into a 7x7 cm square, wrap in plastic wrap and refrigerate for an hour. Remove the bread from the freezer and grate on a coarse grater. Toss bread crumbs with a pinch of salt and pepper.
Step 4

Prepare chicken fillet for cutlets. Cut the fillet along the length, starting with the thin part, and open it with a “book”. Lay between two layers of film and beat to a thickness of 6 mm in the center and 3-4 mm around the perimeter. Season on both sides with salt and pepper.
Step 5

Cut the chilled aromatic butter into 4 sticks. Lay the chicken fillet cut side up and place a stick of butter in the center of the bottom of the patty.
Step 6

Close the oil first from the bottom, then from the sides and wrap it in a tight roll. Form all the Kiev cutlets in this way and place on a tray. Place in refrigerator for 1 hour.
Step 7

Heat the oven to 180°C. Divide the flour, eggs, and breadcrumbs among three bowls. Season flour with salt and pepper. Season the eggs with mustard and beat lightly.
Step 8

Roll the cutlet in flour, shake off the excess. Dip in egg, let excess drip off. Bread in breadcrumbs, pressing down for better grip. Place on a wire rack set over a baking sheet. Bread all cutlets in the same way.
Step 9

Place a baking sheet with a wire rack in the oven and bake chicken Kiev for 40-45 minutes. Then leave the cutlets for 5 minutes to "rest" under the foil, then serve.
Chicken Kiev in the oven - FAQ About Ingredients, Baking Time and Storage
Reviews: 0
0 Overall ratingHave you already prepared this recipe? Tell what you think.
Write a review
Trending


Azu in Tatar style
Azu is a Tatar dish that gained popularity in Soviet times. Traditionally, azu is made from lamb or beef, with onions, potatoes and pickles added. Everything is cut into strips and stewed in tomato sauce.

Brizol with mushrooms and onions
Brizol is a French cooking technique that involves dipping thin, pounded pieces of meat or mince in egg and breading, then frying and rolling them into tubes. Various fillings are placed inside. In this recipe, we slightly changed the technique and w

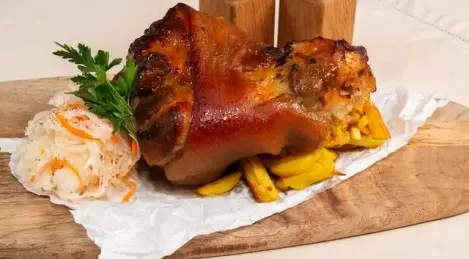
Czech style pork knuckle
The recipe for pork knuckle, or as they say in the Czech Republic, "veprova knelna", involves stewing the meat in beer for quite a long time and then baking it in the oven. Czech pork knuckle is juicy and tender baked meat with a unique aro