-
Newest

Light salmon roll
Omelette with cherry tomatoes and cheese
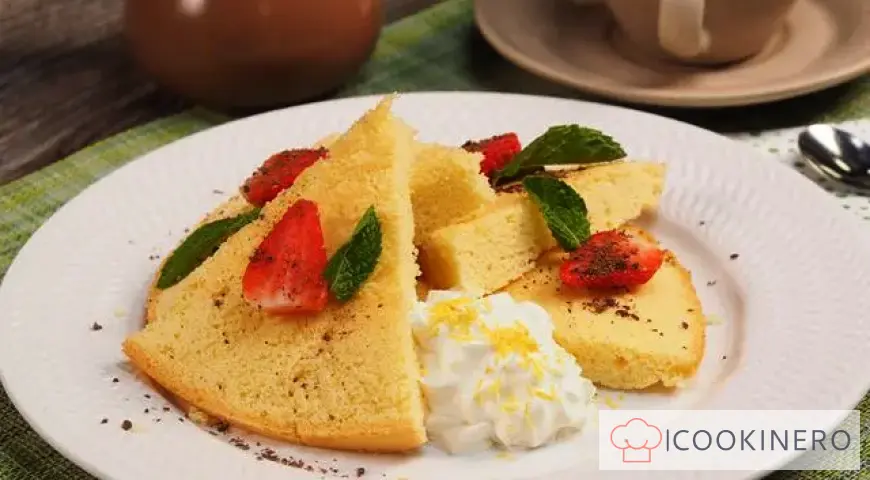
Rice sponge cake
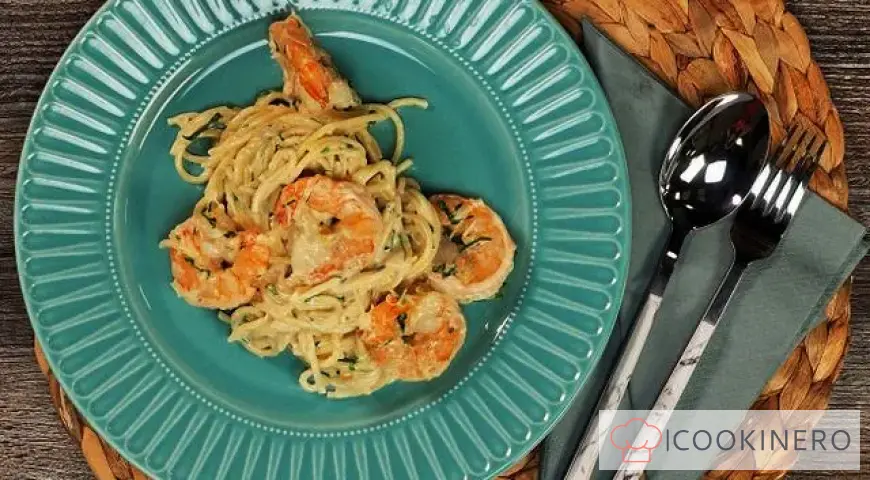
Spaghetti with shrimps in creamy garlic sauce
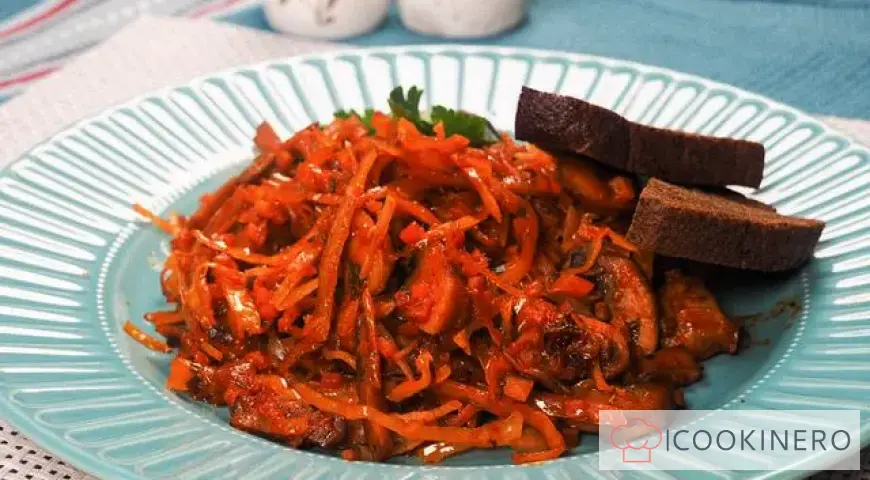
Cabbage with champignons
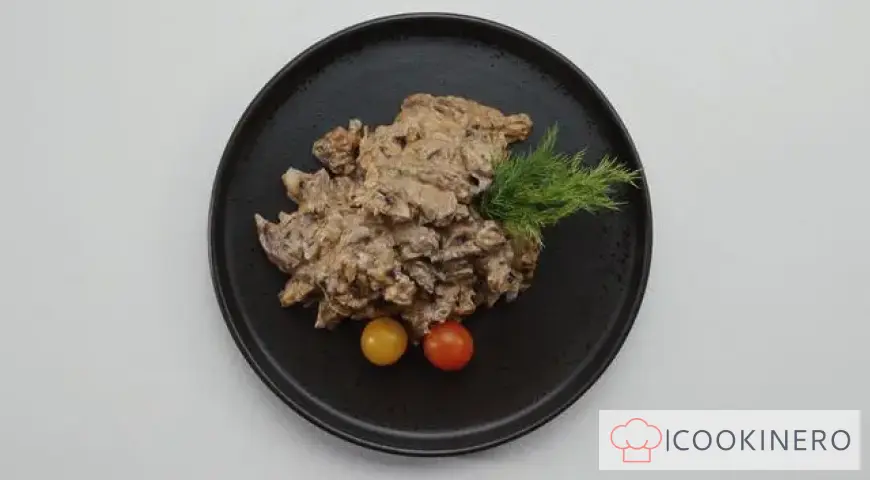
Beef Stroganoff with Mushrooms and Cream


Apple Cinnamon Pie


Among the trendy, quick recipes is the Real Yeast Dough Pie.
How to cook Apple Cinnamon Pie
Step 1
Yeast dough does not tolerate fuss and bad thoughts. Therefore: we exhale deeply, put on an apron and a chef's hat and go to conjure! Preparing the dough way. In warm water (0.5 tbsp.) Dilute granulated sugar, add yeast and leave for 10 minutes without attention. At this time, beat milk (milk + water), kefir, whey or buttermilk with 1 egg and 1 protein (set aside 1 yolk to grease the pie), salt. Add half of the flour and continue to stir. Pour the yeast into this mass and mix thoroughly again. Gradually add flour and butter little by little. The dough should be moderately elastic, unstick from the walls of the dishes. I do the whole procedure with a food processor. You can do it by hand, it will take a little longer. Cover with either cling film or a damp, clean kitchen towel. We put in a corner where there are no drafts. After 30-40 min. check the test rise.
Step 2
You can immediately start forming the pie after the first rise of the dough, or you can let it rise 2 more times: this will make it even more tender and "spongy".
Step 3
While the dough is actively rising, let's take care of the filling. Rinse the apples, you can peel them. cut into cubes or slices and immediately sprinkle with lemon juice (or dip in ice water). In a frying pan / saucepan, dissolve the butter with sugar, add apples and simmer until soft for 5-10 minutes. Sprinkle with cinnamon, stir and let cool.
Step 4
Divide the risen dough into 2 servings (2 pies). Divide each portion into 2 unequal parts: a large ball for the pie and a small one for the lid of the pie. Let stand 5 minutes. Roll out to the size of the baking sheet with a margin for bending, carefully transfer to the baking sheet with a rolling pin. Distribute the filling. Roll out a small piece of dough (cover) and transfer to the filling. Connect the edges of the dough, make a hole in the center of the lid. Lubricate with beaten yolk. Let stand for 5 minutes and put in a gas oven preheated to 220 ° C for 15 minutes. After the specified time, reduce to 190-200 ° C and bake until cooked. If one side bakes faster, then turn the cake in the oven on the other side. Usually the cake is baked for 25-35 minutes. Focus on the smell, color of the product.
Step 5
Remove the finished cake from the oven, sprinkle with cold water or cover with a slightly damp cloth and let stand (rest) for 15 minutes. After that, you can start tasting.
Reviews: 0
0 Overall ratingHave you already prepared this recipe? Tell what you think.
Write a review
Trending
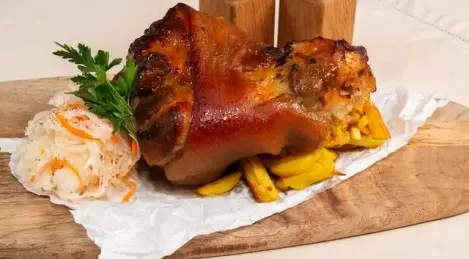
Czech style pork knuckle
The recipe for pork knuckle, or as they say in the Czech Republic, "veprova knelna", involves stewing the meat in beer for quite a long time and then baking it in the oven. Czech pork knuckle is juicy and tender baked meat with a unique aro

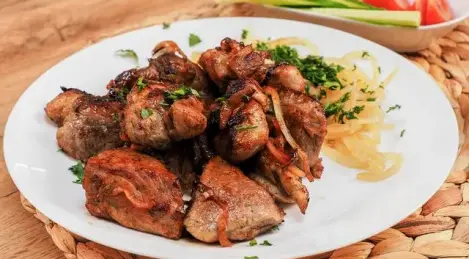
Shashlik with mayonnaise
Pork shashlik with mayonnaise turns out tasty and juicy. It is best to marinate pork neck - the most satisfying and juicy part of the meat. But you can also use hip tenderloin with layers. Mayonnaise softens even the toughest meat well, and the shash
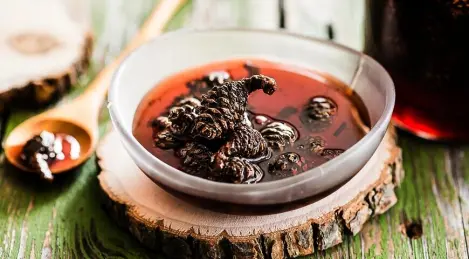

Azu in Tatar style
Azu is a Tatar dish that gained popularity in Soviet times. Traditionally, azu is made from lamb or beef, with onions, potatoes and pickles added. Everything is cut into strips and stewed in tomato sauce.
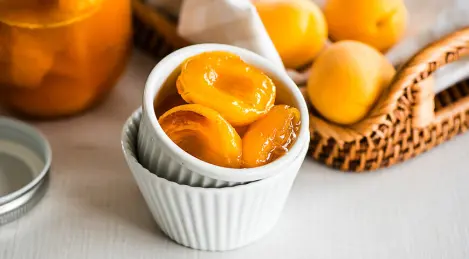

Bigos with rice
Bigus, or bigos, as it is called in its homeland - in Poland, is traditionally prepared from two types of cabbage. Usually they take fresh and pickled. According to one version, it is this cooking principle that gave the name to the dish. In Latin, t