-
Newest

Light salmon roll
Omelette with cherry tomatoes and cheese
Rice sponge cake
Spaghetti with shrimps in creamy garlic sauce
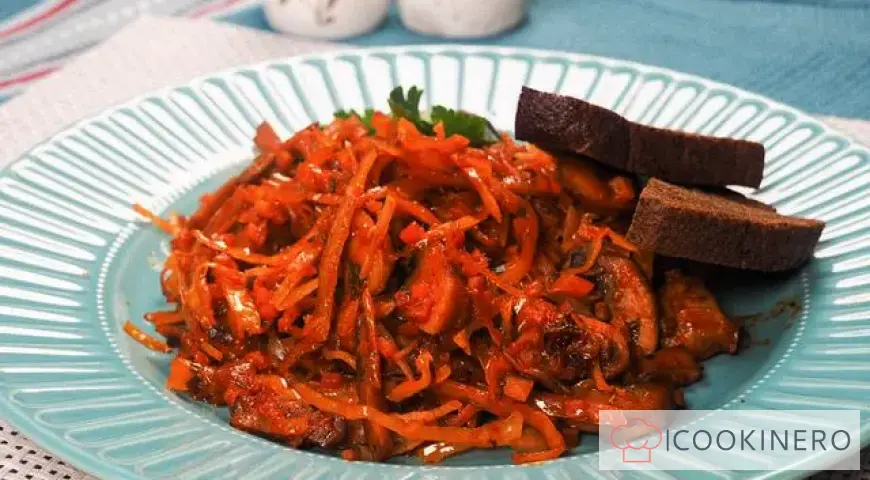
Cabbage with champignons
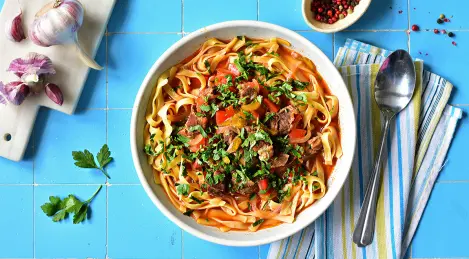
Beef Stroganoff with Mushrooms and Cream


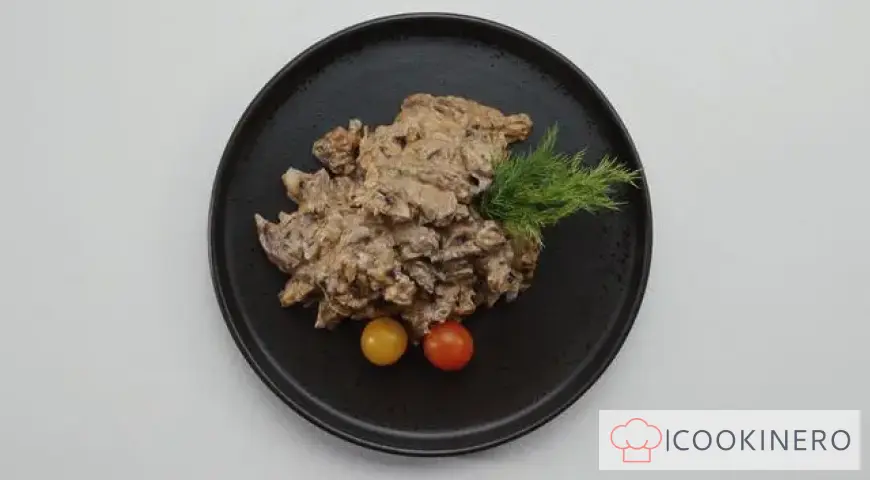
Pork pate


This pork pate is very different from the product we are all used to. Especially if you focus on the one that is sold in stores! We suggest you cook a pate from a tender pork ham, which must be chopped not in a meat grinder, but with a knife, so that the finished dish is juicy and tender. Then add an apple and green onion, which will give the taste a special refinement. Then bake the pate and cool thoroughly, placing under oppression. Do you feel? Quite a different story! Having tried such a pork pate once, you will understand that you will cook it, and more than once.
How to cook Pork pate
Step 1

Prepare pork for pâté. Cut the ham into small pieces, then chop very finely with a cleaver or two heavy knives. Do not use a meat grinder!
Step 2

Cut the brisket into very small cubes. Cut green onions into rings. Peel the apple, cut out the core with seeds. Cut the pulp into small cubes.
Step 3

Mix prepared pork, brisket, apple and onion in a large bowl with lemon juice. Season with allspice and black pepper. Mix thoroughly with your hands. Cover with cling film and refrigerate for 8 hours.
Step 4

Prepare a container for roasting pork pate. Line a 23x12.5 cm mold with a volume of 2 liters with baking paper. You can brush it lightly with butter. Salt the chilled minced pork and mix. Pour into prepared form. Cover the top with three layers of high-quality foil, pressing it tightly against the sides.
Step 5

Place the form with minced pork in a deep baking sheet and pour in enough water so that it reaches the middle of the form. Heat the oven to 160°C. Bake the pâté for 2 hours.
Step 6

Check the readiness of the pate. Carefully peel back the foil and pierce it with a sharp knife. Clear juice should flow from the pate. Pay attention to the edges: they should lag behind the walls.
Step 7

Let the pork pate cool, then place a plank on top of the foil and set a weight of about 1 kg. Refrigerate for 24 hours or 2 days.
Pork pate - FAQ About Ingredients, Baking Time and Storage
Reviews: 0
0 Overall ratingHave you already prepared this recipe? Tell what you think.
Write a review
Trending


Azerbaijani kutabs
Kutaby (or gutaby) is a traditional Azerbaijani snack, a thin pie with a filling of ground beef or lamb with the addition of lamb fat. Onions, herbs, cheese, and sometimes even pumpkin are also used for the filling of kutaby. Kutaby are fried in a dr

Fried pollock with broccoli
Pollock is one of the most popular fish in dietary cuisine. Pollock fillet contains many useful elements, vitamins, phosphorus and is low in calories. Broccoli and pollock go well together. For maximum benefit and to preserve the beneficial propertie


Adyghe cheese at home
Adyghe cheese is soft and tender. Moderately salty, aromatic and dense. You can cook many dishes of Caucasian cuisine with this cheese. You can also make this cheese at home, and do it without much difficulty.