-
Newest

Light salmon roll
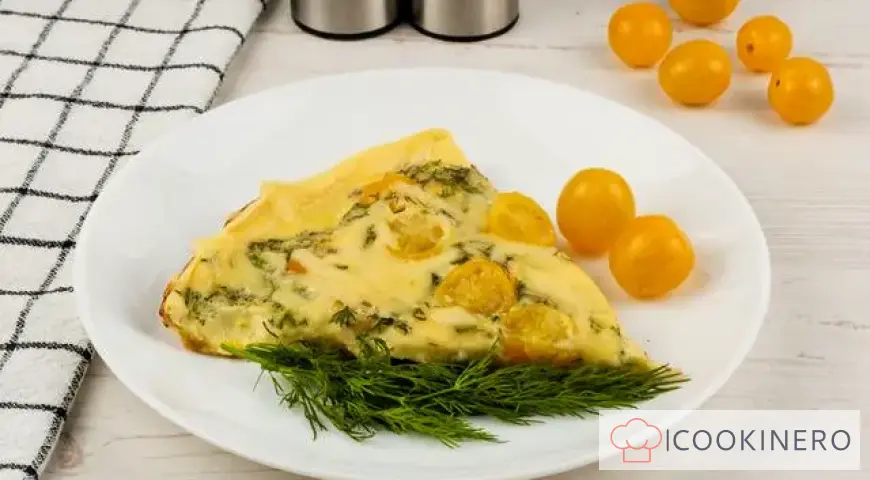
Omelette with cherry tomatoes and cheese
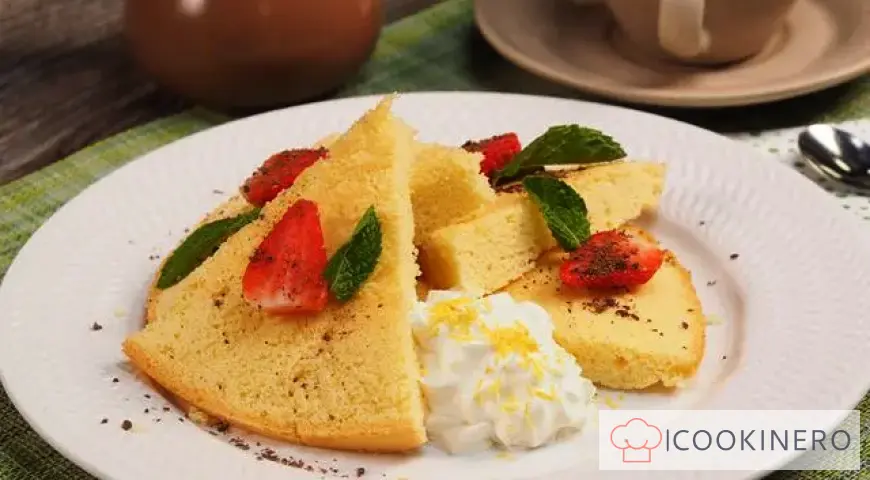
Rice sponge cake
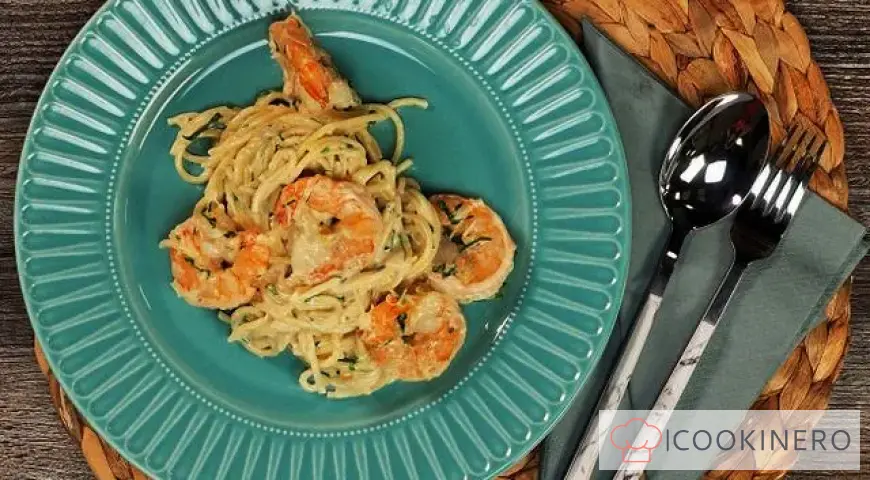
Spaghetti with shrimps in creamy garlic sauce
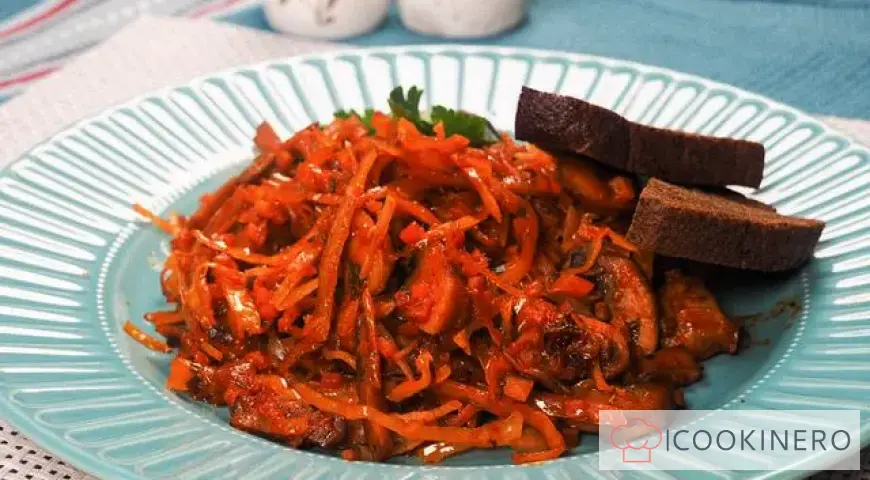
Cabbage with champignons
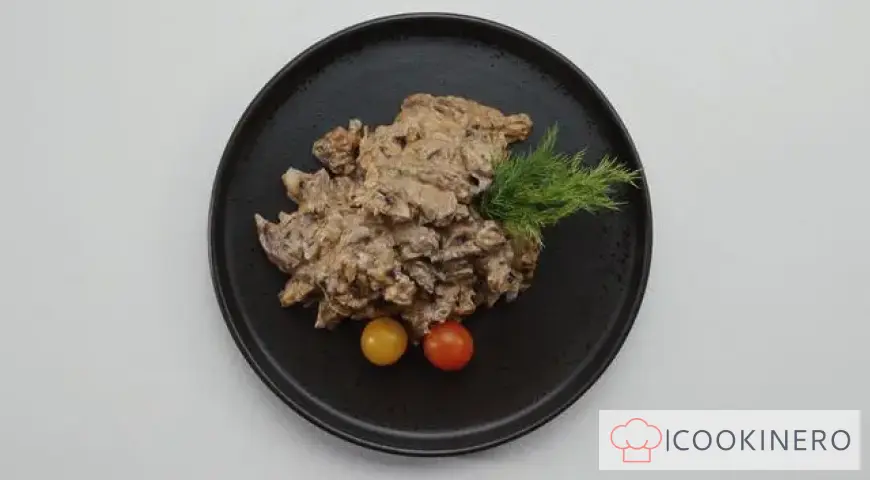
Beef Stroganoff with Mushrooms and Cream

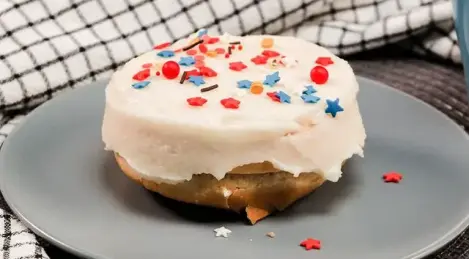
Cherry Cupcakes

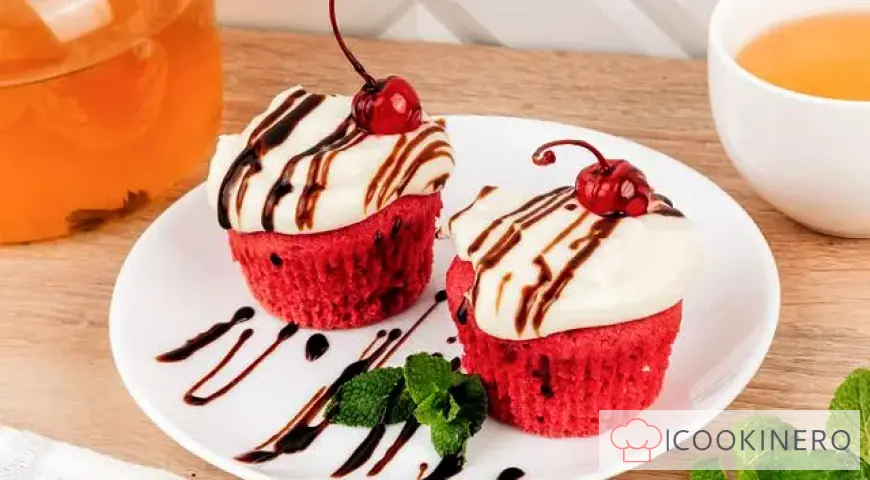
Delicate cupcakes with cherries and cheese cream can become the main dish of the holiday table. Bright pink cupcakes with whole berries melt in your mouth, leaving a sweet aftertaste. For cupcakes, take frozen cherries - this way you will not have to mess with the pits. In addition, store-bought berries tolerate baking better. Mascarpone-based cream neutralizes the sweetness of the cupcakes, and it is also much healthier and tastier than traditional butter cream.
How to cook Cherry Cupcakes
Step 1
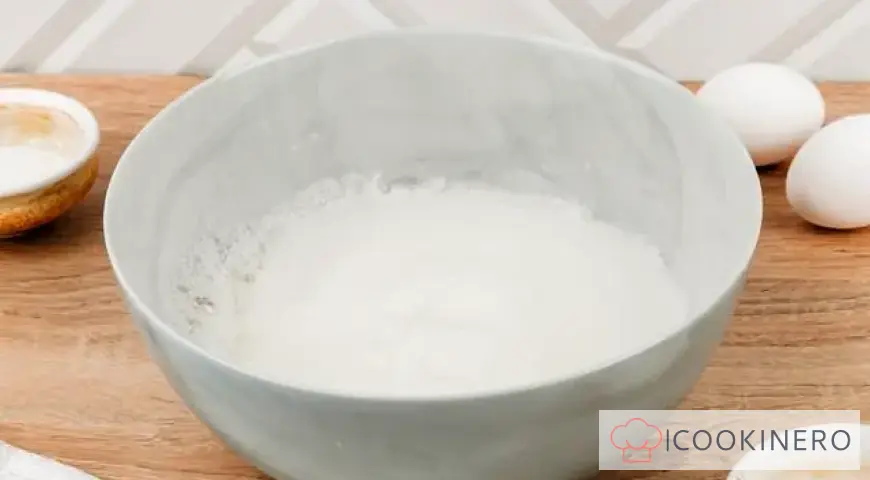
Separate the whites from the yolks. Put the yolks aside for now, and pour the whites into a large container and beat with a mixer or blender until fluffy and stiff peaks form. Properly beaten whites are white and have a stable structure - they do not spread.
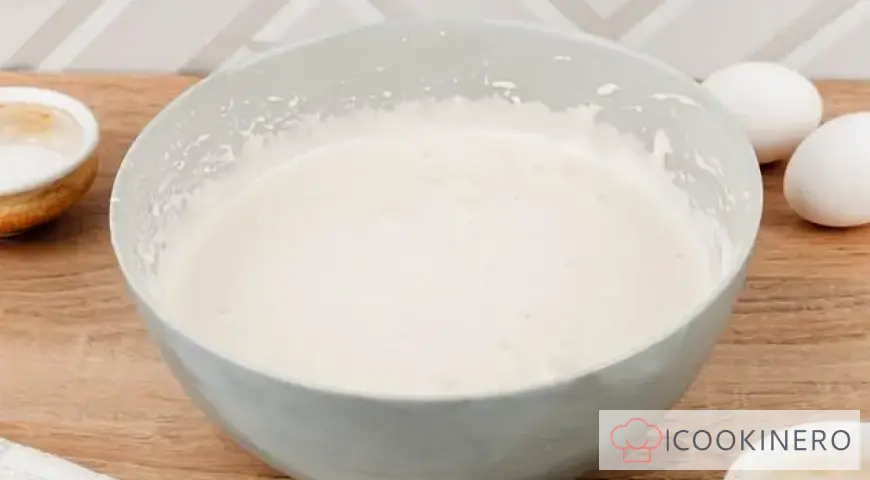
Step 2

Add sugar to the egg whites in a bowl and mix well. A mixer will do the job faster, but you will still need to check the consistency manually.
Step 3
Add the yolks to the whipped whites and gently fold them in with a spatula from the bottom up. Set the bowl aside.
Step 4
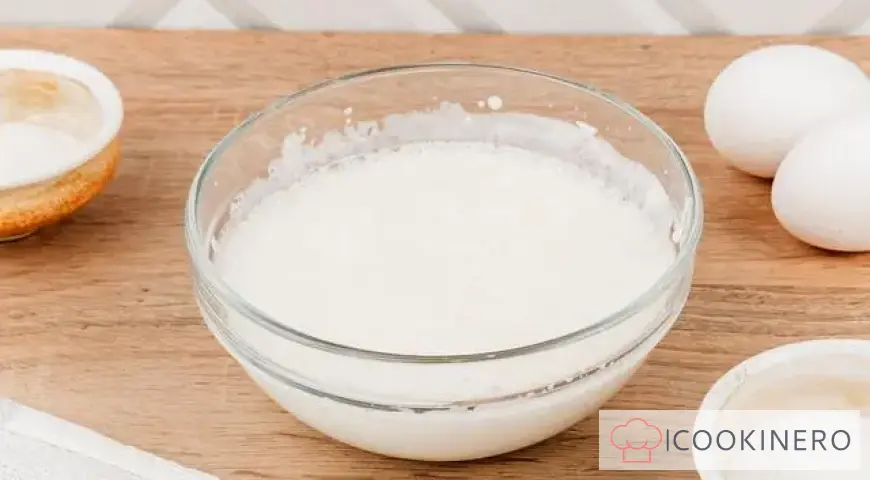
Pour the milk into another deep bowl and add the butter. Beat with a mixer until smooth.
Step 5
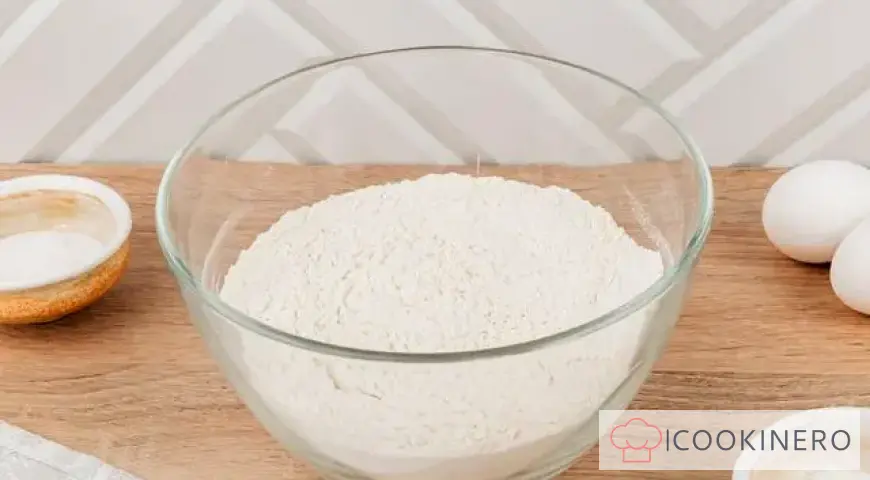
Place vanilla and baking powder in a bowl with flour. Mix.
Step 6
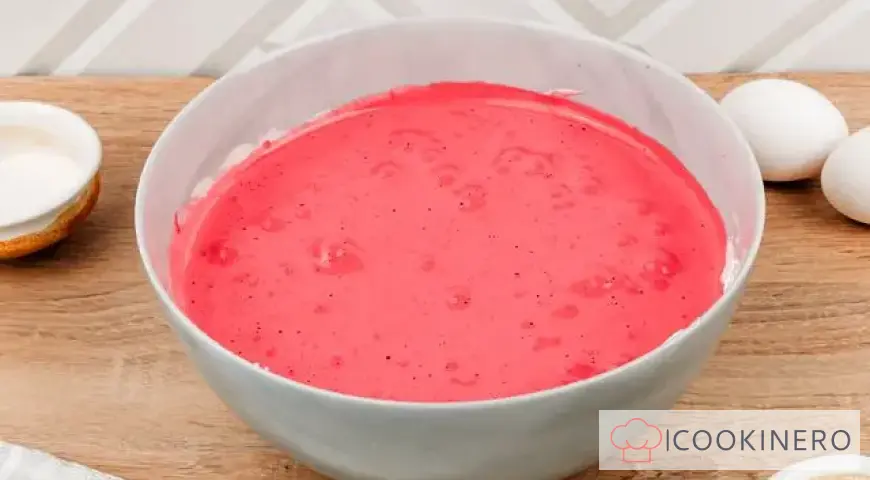
Return to the bowl with the beaten eggs and add a few drops of food coloring and stir until you get a rich pink color.
Step 7
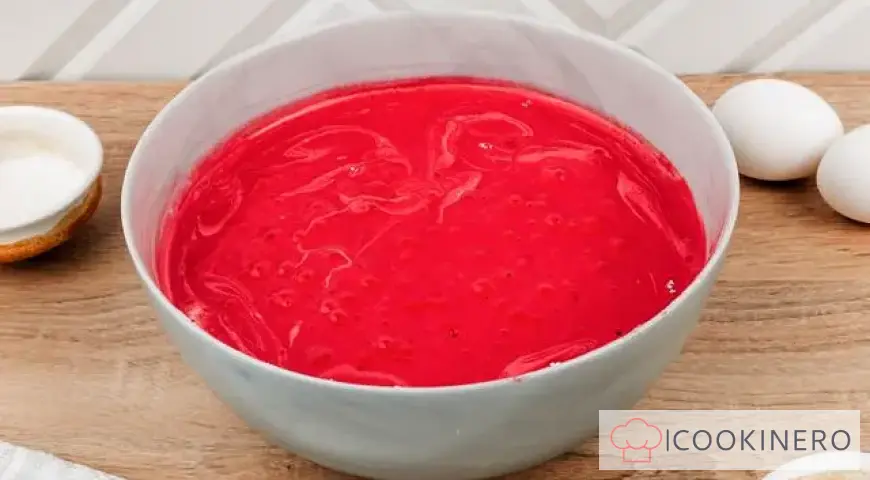
Add milk and butter to the resulting mixture, then gradually add flour, stirring constantly.
Step 8

When the mixture becomes homogeneous and resembles thick sour cream in consistency, add the cherries and stir again.
Step 9

Pour the batter into the cupcake liners until they are about half full.
Step 10
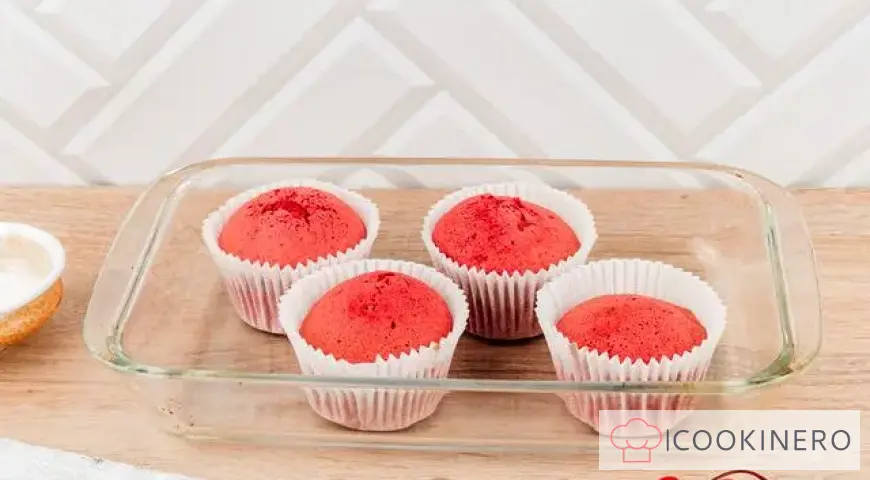
Place the cupcakes in the oven to bake for 30-35 minutes at 200°C.
Step 11
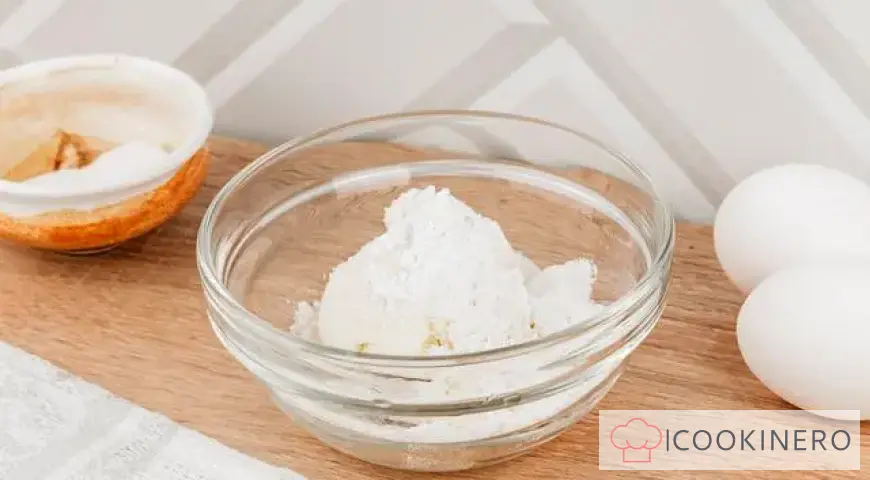
While the cupcakes are baking, prepare the frosting. In a bowl, mix the mascarpone cheese, vanilla and powdered sugar.
Step 12
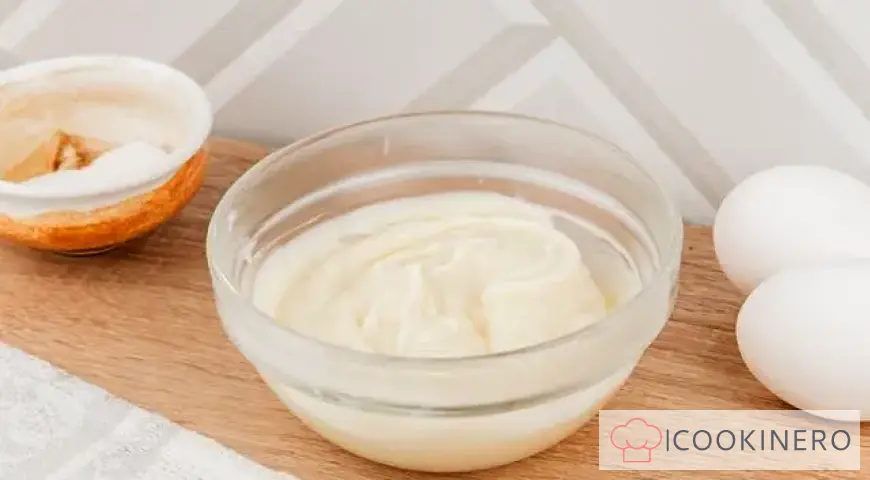
Add the cream and mix thoroughly until the mixture is smooth. It should be thick but soft.
Step 13
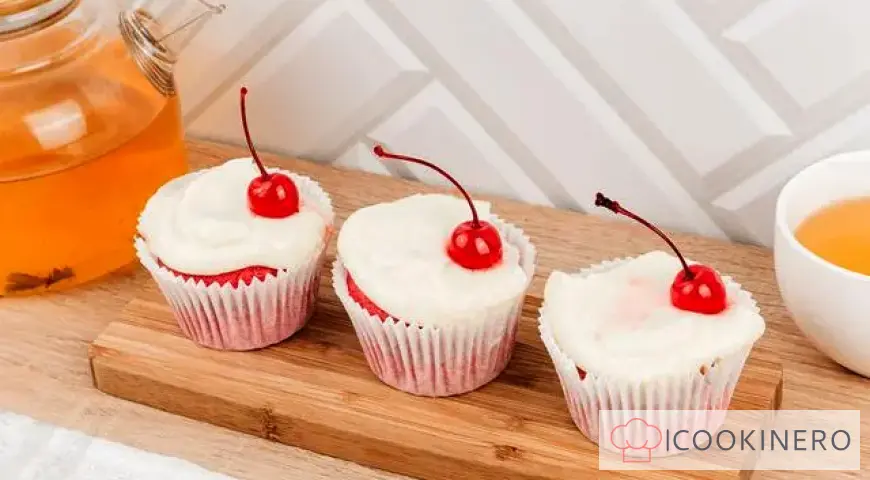
Take the cupcakes out of the oven and let them cool down a bit. Then decorate them with cream and finish the composition with a cherry. The cupcakes are ready, enjoy your tea!
Cherry Cupcakes - FAQ About Ingredients, Baking Time and Storage
Reviews: 0
0 Overall ratingHave you already prepared this recipe? Tell what you think.
Write a review
Trending
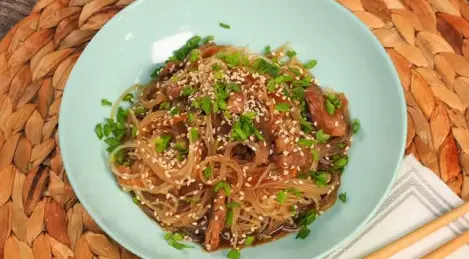
Funchoza with pork
Funchoza with pork is a Korean dish that is prepared very quickly from glass noodles with meat, vegetables, soy sauce and spices. Funchoza with pork is spicy and aromatic. The noodles become transparent during cooking and absorb not only the taste an
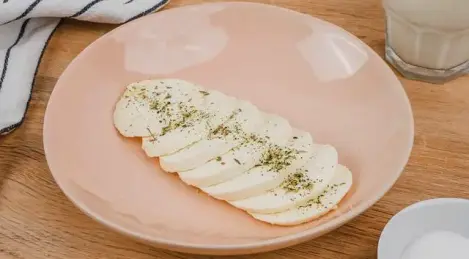
Adyghe cheese at home
Adyghe cheese is soft and tender. Moderately salty, aromatic and dense. You can cook many dishes of Caucasian cuisine with this cheese. You can also make this cheese at home, and do it without much difficulty.

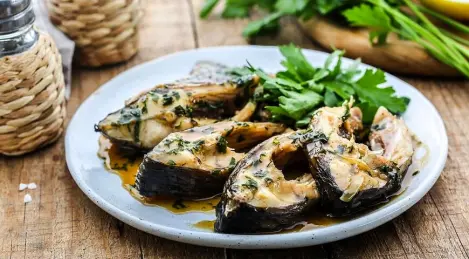
Azu in Tatar style
Azu is a Tatar dish that gained popularity in Soviet times. Traditionally, azu is made from lamb or beef, with onions, potatoes and pickles added. Everything is cut into strips and stewed in tomato sauce.
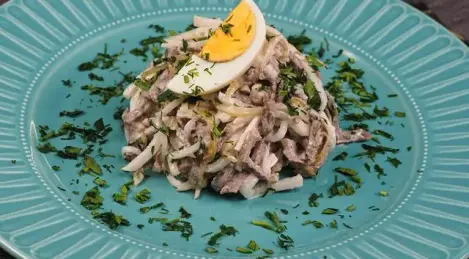
Tashkent Salad with Radish
The recipe for a salad with radish and beef is called "Tashkent". The root vegetable is popular in Uzbekistan. It is used to make a variety of salads, appetizers and even lagman. The Tashkent salad is an excellent option for a simple and he