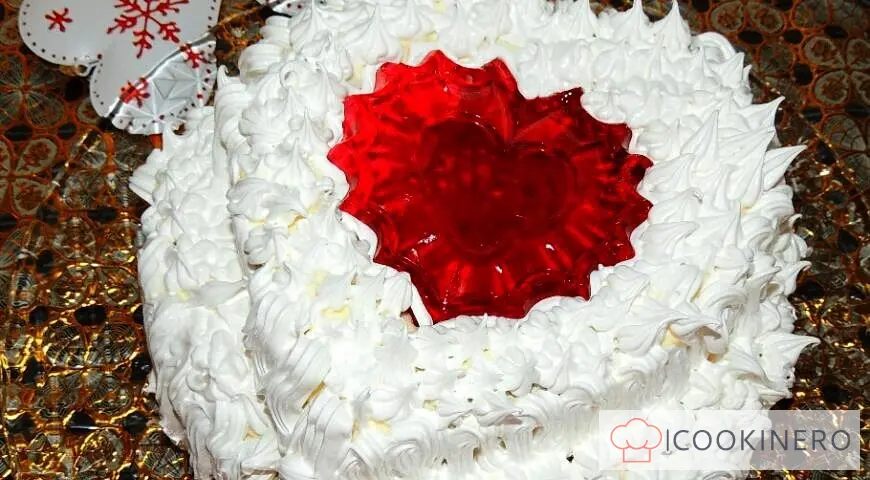
Cake "Biscuit basket" with summer berries
Description
Delicate biscuit cake with a soft creamy vanilla "core", decorated with sweet and sour fresh summer berries, is very easy to prepare and will suit any holiday table ... The design principle of this cake is similar to my favorite "For the Prince" cake, which is on the site ( https://www.gastronom.ru/recipe/32574/tort-dlya-princa). PS 1. Be sure to strictly follow the process of making a biscuit described below so that it turns out to be lush and tall. The cake can be baked a day before the cake is assembled and stored completely cooled on a flat surface in an open dish at room temperature (you can cover it with a paper towel on top) - this is usually how I do it. Then it will practically not crumble when cutting and after impregnation it will not get wet and will not lose its shape. But if you want to get a softer and moister biscuit crumb, you can wrap the biscuit in parchment paper 5-6 hours after baking, then put it in a clean plastic bag and close the latter tightly. In this form, the biscuit can be stored at room temperature on a flat surface for 1-2 days. And it is ideally better to collect the cake itself 12 hours before serving, so that it is well saturated with cream, but this time can be reduced to 2-3 hours. 2. Cream for cream must be properly cooled before whipping, i.e. keep in the refrigerator until use for at least a day. 3. The cooking time in the recipe is as follows: for preparing the dough - about 25 minutes, for baking - 40-45 minutes, for assembling the cake - about 30 minutes, for cooling the finished cake - at least 2-3 hours.
Step-by-Step Cooking Instructions
Step 1

Turn on the oven and heat it to 2.8-3 (about 170 ºС) or in accordance with the recommendations in the instructions for baking biscuit dough. Prepare a round non-stick baking dish Ø 28 cm. To do this, cut out a circle from non-stick baking paper, first outlining the bottom of the mold on it with a pencil or pen. Put them on the bottom of the form, greased with butter (so that the paper sticks to it). Grease the sides of the mold with oil to a height of 1 cm - not higher (if you do this to their entire height, there is a danger that during baking the edges of the biscuit will slip and settle, and only its middle will rise). If you don’t have a non-stick pan, you can use the regular one, completely smearing it with butter and lining it with non-stick paper. Place the prepared mold in the refrigerator until use.
Step 2
Measure and mix in a separate bowl the amount of extra wheat flour, cornstarch and vanilla sugar required for the recipe. Measure the sugar into another container.
Step 3

For chilled (taken out of the refrigerator immediately before cooking) eggs, separate the whites from the yolks manually or using a separator (see photo), putting them in different containers (each with a volume of about 3-3.5 liters; yolks - in the one in which you plan to knead the dough in the future).
Step 4

Beat with a mixer (it will be faster) or manually beat the proteins with 5 drops of lemon juice into a lush foam (their volume should increase by 4-5 times), then, without ceasing to beat, add a pinch of salt to them and in portions add ⅔ previously measured granulated sugar. Whip the whites vigorously at high speed until a stiff snow-white mass is formed, rotating the whisks in one direction and trying to periodically lower them to the bottom of the bowl. The process may take up to 5 minutes. The whites are whipped correctly when, after removing the beaters from them, you will see on them persistent, well-shaped "spike"
Step 5

Beat the yolks with a mixer (you can use the same beaters with which you beat the whites) with the remaining sugar into a light yellow, almost white creamy fluffy mass (their volume should increase by 2-3 times).
Step 6

Put the previously whipped whites to the yolks and mix them: with a mixer at a very low speed, moving it in one direction so that air does not escape from the mixture, or by hand - with a spoon (preferably wooden), a hand whisk or a special silicone cooking spatula with movements from top to bottom from edges of the bowl towards the center, not in a circle (this will keep air bubbles inside the mass and prevent it from settling). Do not delay the process, acting quickly, but carefully.
Step 7

Sift evenly (over the entire surface) through a sieve on top of the egg mixture ½ of the previously measured flour mixed with starch and vanilla sugar. Gently, but fairly quickly, combine the dry ingredients with the beaten eggs with a mixer, moving it in one direction at a very low speed. Or do it again with a spoon / hand whisk / silicone spatula in the same way as in step 6.
Step 8

Enter the remaining flour. Then pick up any remaining flour from the sides of the bowl and mix everything again quickly and gently as described above. The dough should be fluffy and homogeneous, with a relief surface. Pour it into the previously prepared form, taken out of the refrigerator. Gently rock the pan with the dough from side to side so that it is evenly distributed over it. Immediately put the future biscuit in a preheated oven on the middle level.
Step 9

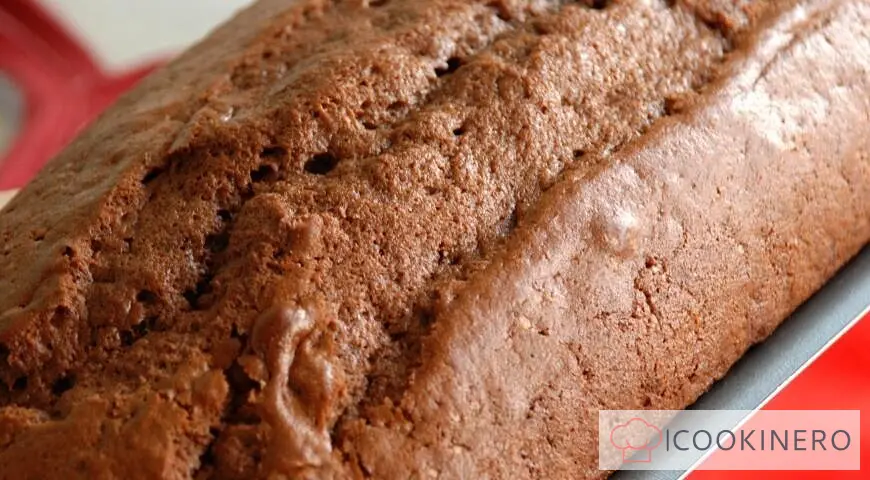
Bake the biscuit on the number 2.8-3 (about 170 ° C) for 40-45 minutes or in accordance with the recommendations in the instructions for your oven for baking biscuit dough. The top of the finished biscuit should acquire a golden hue, while if you pierce it with a match or a wooden toothpick, the latter will remain dry, without traces of dough. The first 30 minutes of baking do not open the oven, otherwise the biscuit will settle.
Step 10
Let the finished biscuit stand for 5-10 minutes in the ajar turned off oven, then carefully remove it from it and leave it for 20-30 minutes in the form already at room temperature (but not in a draft!). The biscuit may settle a little, while lagging behind the walls of the form: do not worry, this is normal.
Step 11

Then put the cake on a wire rack or other flat surface to cool further, of course, at room temperature. It is advisable to start assembling the cake no earlier than 5-6 hours after baking the biscuit, and best of all, the next day (see the introduction to the recipe).
Step 12
On the day of assembling the cake, cook the impregnation for the cake yourself if you do not use ready-made liquor. To do this, in a metal saucepan or bowl, dissolve 10 g in 100 ml of cold water. (1 tablespoon without a slide) granulated sugar. Put the syrup on medium heat, bring to a boil, cook, stirring, for a couple of minutes until the sugar is completely dissolved, then remove from heat and cool completely.
Step 13

At the matured cake, remove the baking paper from the bottom, cut off the burnt places (bottom and sides) with a knife with a serrated blade (sawing movements so as not to crush the crumb of the cake) and put it on a serving dish.
Step 14

Step back from the edge of the cake 1 cm and make a shallow incision with a knife along its entire circumference. With a spoon or hands, carefully select the middle of the biscuit along the outlined contour so that its walls and bottom become about 1 cm thick. Leave the cake with the middle taken out on a serving dish, and put the biscuit crumb into a separate plate and break into medium pieces.
Step 15

Prepare cream. To do this, wash the package of chilled cream with soap so that microbes do not get into the product after opening the package. Pour the cream into a separate clean container for whipping with a volume of about 3 liters (it is best to pre-cool it in the freezer for 10-15 minutes, covering it with cling film on top), add to them the entire norm of granulated sugar for the cream and vanilla sugar (or the pulp of ½ vanilla pod) . Beat the mixture with a mixer until fluffy (this may take about 5 minutes), so that it turns into a persistent "embossed" cream.
Step 16

Using a spoon or a pastry brush, sprinkle the bottom and sides of the biscuit "box" with liquor or about half of the soaking prepared earlier (the second half of the soaking in the recipe is not needed). Then grease the side of the “box” with a small amount of butter cream: on the side, as well as on its top.
Step 17

Gently mix the remaining cream with the previously removed biscuit crumb and place in the deepening of the cake, spreading evenly with a spoon and slightly crushing. Wipe the edge of the plate with a wet napkin, removing the remaining cream, close the plate with the cake blank (preferably with a special lid from the cake mold) and refrigerate for at least 2-3 hours, and preferably for 12 hours.
Step 18

Before serving, wash the berries, dry on a paper towel. After that, cut each strawberry in half or as you like, and decorate the cake with all the berries at your discretion. Cover the cake with a lid again and refrigerate until ready to use, or, without closing anything, serve immediately. Enjoy your meal!
Step 19
Store the leftovers of the finished cake in the refrigerator at 0-6 ° C in a sealed container for no more than a day.
Ingredients
Categories
Biscuit Berries Eggs Pie Butter cream Desserts Sweet Summer recipes Berry desserts Biscuit cake Impregnation Berry liqueurReviews: 0
0 Overall ratingHave you already prepared this recipe? Tell what you think.


