-
Newest

Light salmon roll
Omelette with cherry tomatoes and cheese
Rice sponge cake
Spaghetti with shrimps in creamy garlic sauce
Cabbage with champignons
Beef Stroganoff with Mushrooms and Cream


Cake "Yolochka"


Children and adults are delighted with such cakes, and they turn out much tastier if they are made at home by mom)
How to cook Cake "Yolochka"
Step 1
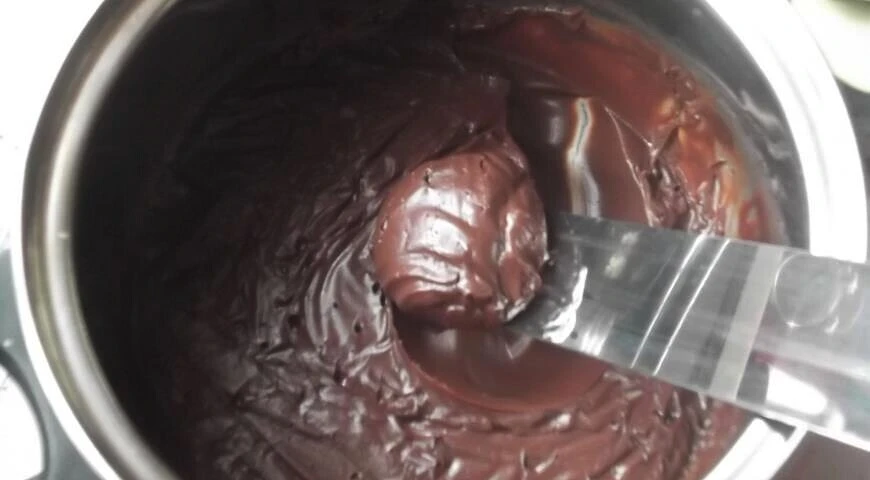
Bring cream to a boil, remove from heat, add chopped chocolate. Let sit for a minute, then rub for a few minutes until smooth and shiny. Cover the cream itself with cling film (inside the pan) and again on top of the pan. Cool to room temperature and refrigerate for 8 hours, remove 2 hours before use.
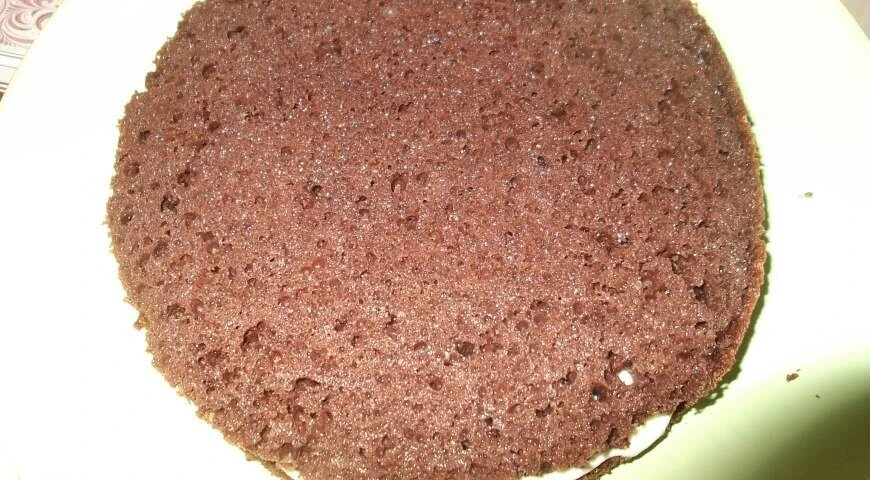
Step 2
Separate the whites from the yolks. Beat the yolks with sugar. Separately, beat the whites in a strong foam, add to the yolks and gently stir with a spatula until smooth. Mix the flour, cocoa and baking powder and sift, gradually introduce into the eggs, mixing gently. Put in a detachable form and put in an oven preheated to 180 degrees for 40 minutes. Readiness to check with a wooden skewer. Cool the finished cake on a wire rack.
Step 3
Beat the yolks with regular and vanilla sugar, add flour and a little milk, beat until smooth. Heat the rest of the milk, pour in a thin stream into the yolks with sugar, stirring all the time with a whisk. Pour back into the saucepan and cook (still stirring) over low heat until thickened. Remove from heat, cool.
Step 4

Separately, beat the butter until white, add the cooled custard, beat.
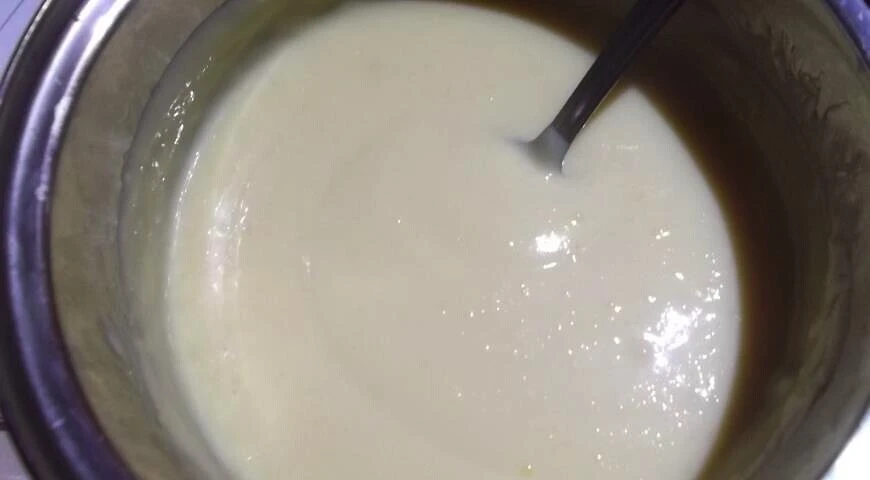
Step 5

Whip the cream to soft peaks, add the custard and butter and mix well with a spatula.
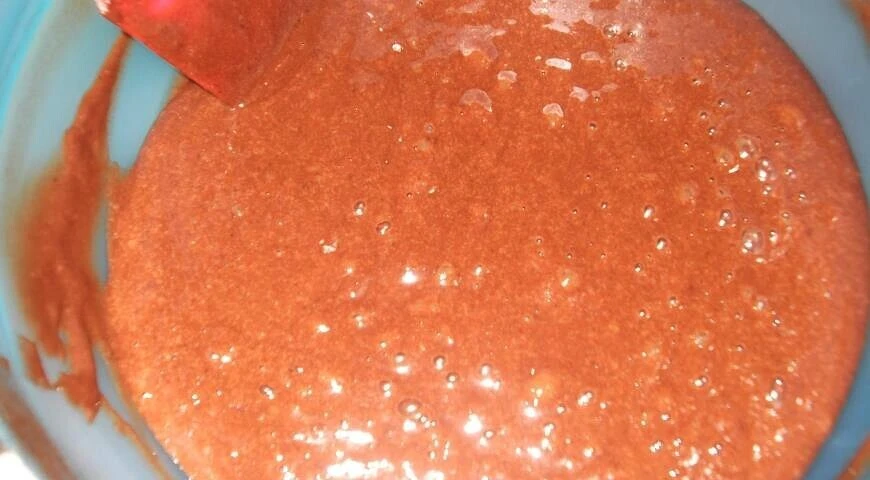
Step 6
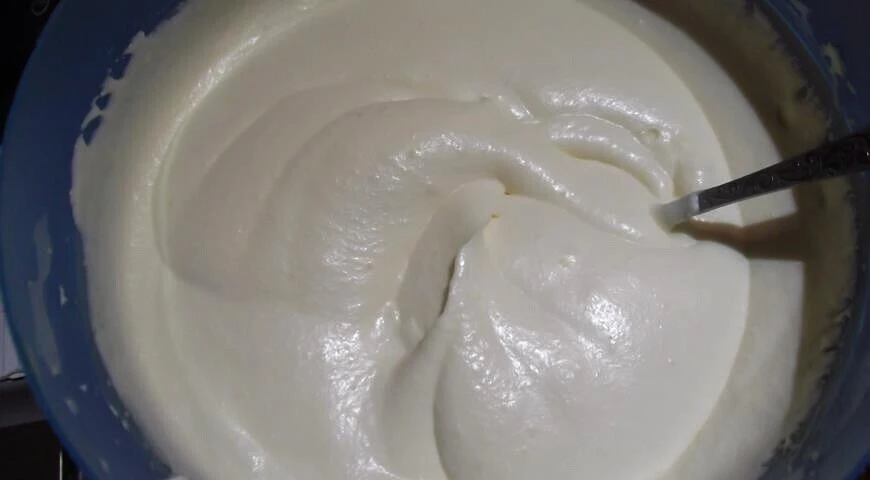
This is how it turned out.
Step 7
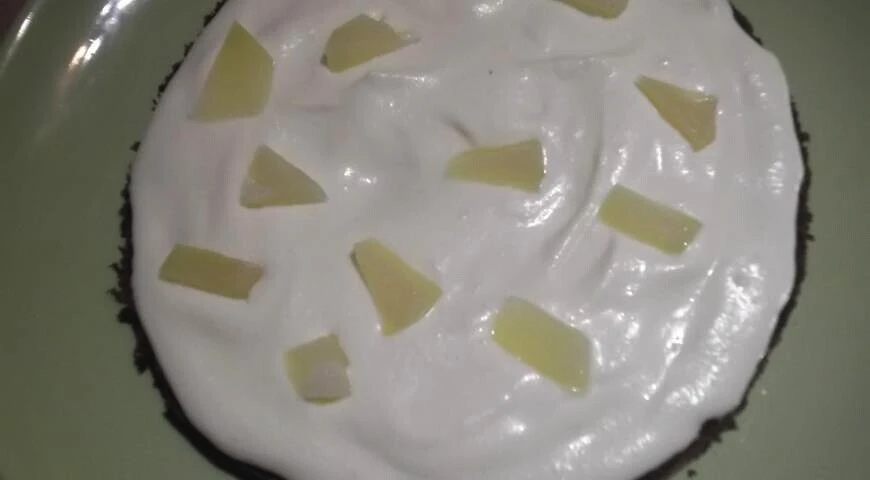
If the cake has risen well, then cut into 3 parts (2 thin cakes and 1 thick). If bad - into 2 parts (1 thin and 1 thick). Cut the thick crust into small cubes. Soak the bottom cake with pineapple syrup, cover with cream and lay out pineapple slices.
Step 8
Cover with a second cake, soak, cover with cream, lay out pineapples.
Step 9
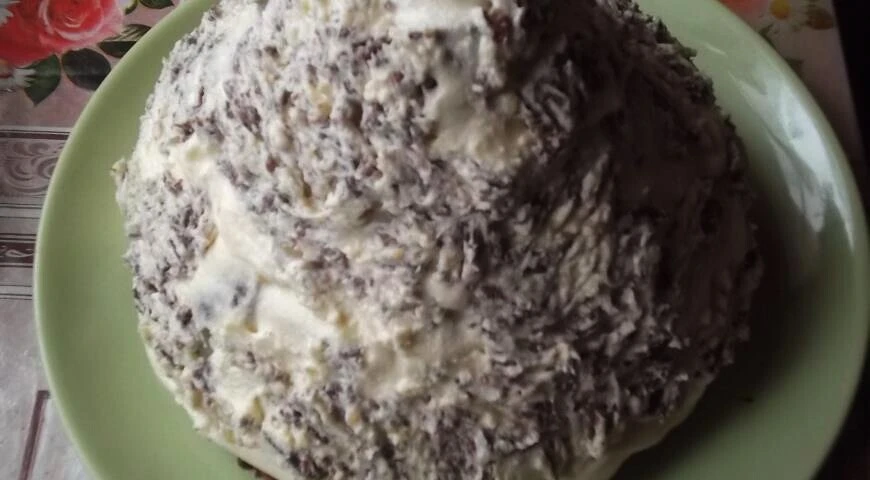
We make a Christmas tree from cake cubes and pineapples. Dip each cube into the cream, then place on the cake. Do this with each cube of cake. Sometimes put pieces of pineapple. You should get a pyramid - a Christmas tree. Place in the refrigerator so that the cream sets a little.
Step 10
Go through the ganache in 2 layers after a while (let the cake cool in the refrigerator). Smooth out the final layer with a hot spatula.
Step 11
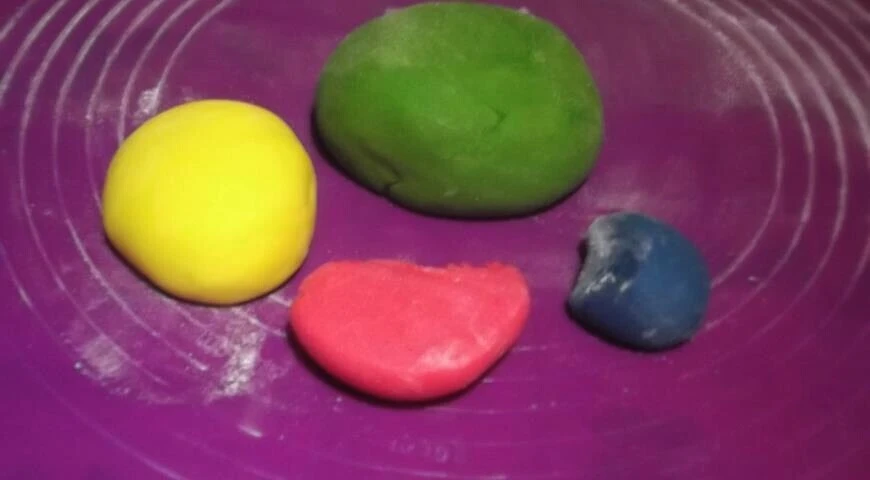
You can take purchased mastic. I have a choco mastic made from marshmallows, white chocolate, butter, lemon juice, powdered sugar and starch. Color with food coloring. Most in green (herringbone and needles) and a few other colors (decorations).
Step 12
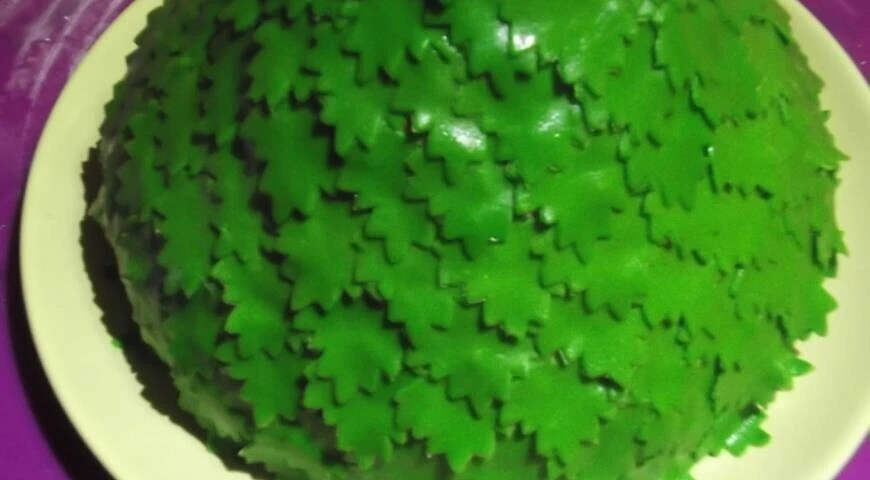
Roll out a large layer of green mastic, transfer to the Christmas tree, level it. Once again, roll out the mastic into a thin layer and, using suitable plungers or cookie cutters, make needles for the Christmas tree, gluing them to the water.
Step 13
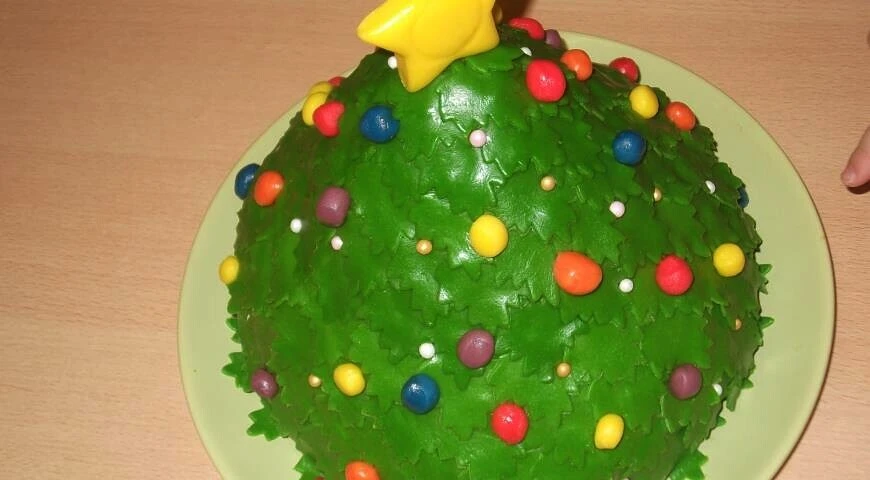
From colored mastic, make a star and balls, decorate the Christmas tree. My star is held with a toothpick, and the balls were glued with water. At the end of the work, walk with a wet brush.
Step 14
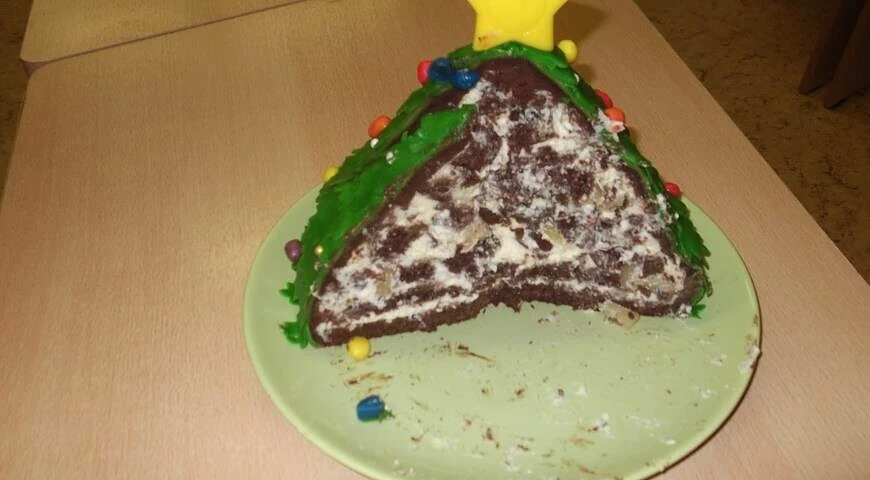
This is how the cut is made.
Cake "Yolochka" - FAQ About Ingredients, Baking Time and Storage
Reviews: 0
0 Overall ratingHave you already prepared this recipe? Tell what you think.
Write a review
Trending


Fried pollock with broccoli
Pollock is one of the most popular fish in dietary cuisine. Pollock fillet contains many useful elements, vitamins, phosphorus and is low in calories. Broccoli and pollock go well together. For maximum benefit and to preserve the beneficial propertie


Azu in Tatar style
Azu is a Tatar dish that gained popularity in Soviet times. Traditionally, azu is made from lamb or beef, with onions, potatoes and pickles added. Everything is cut into strips and stewed in tomato sauce.
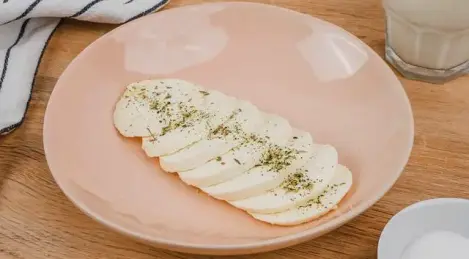
Adyghe cheese at home
Adyghe cheese is soft and tender. Moderately salty, aromatic and dense. You can cook many dishes of Caucasian cuisine with this cheese. You can also make this cheese at home, and do it without much difficulty.
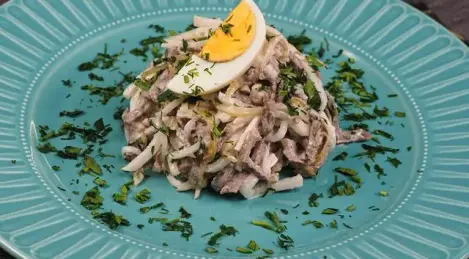
Tashkent Salad with Radish
The recipe for a salad with radish and beef is called "Tashkent". The root vegetable is popular in Uzbekistan. It is used to make a variety of salads, appetizers and even lagman. The Tashkent salad is an excellent option for a simple and he