-
Newest

Light salmon roll
Omelette with cherry tomatoes and cheese
Rice sponge cake
Spaghetti with shrimps in creamy garlic sauce
Cabbage with champignons
Beef Stroganoff with Mushrooms and Cream


Easter eggs "Krashenki"

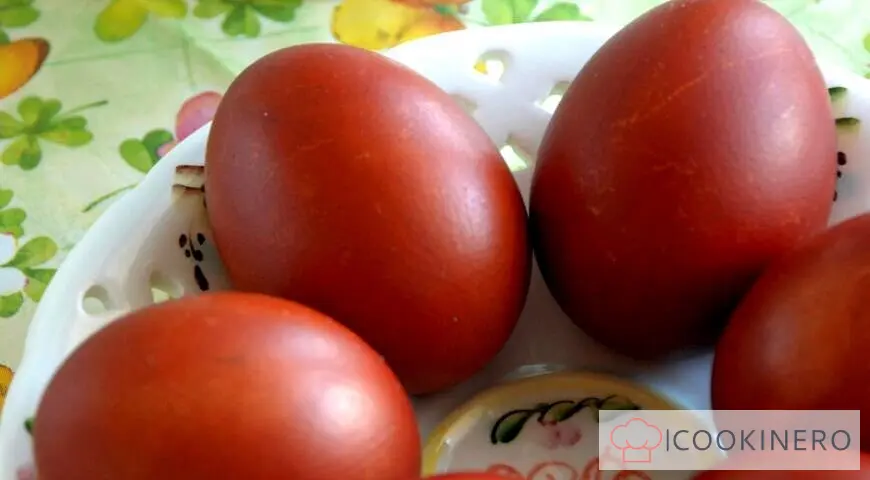
Krashenki - eggs dyed with natural natural (for example, onion skins) or artificial dyes in a uniform color. I try to use only natural ones. I suggest you try one of the ways.
How to cook Easter eggs "Krashenki"
Step 1
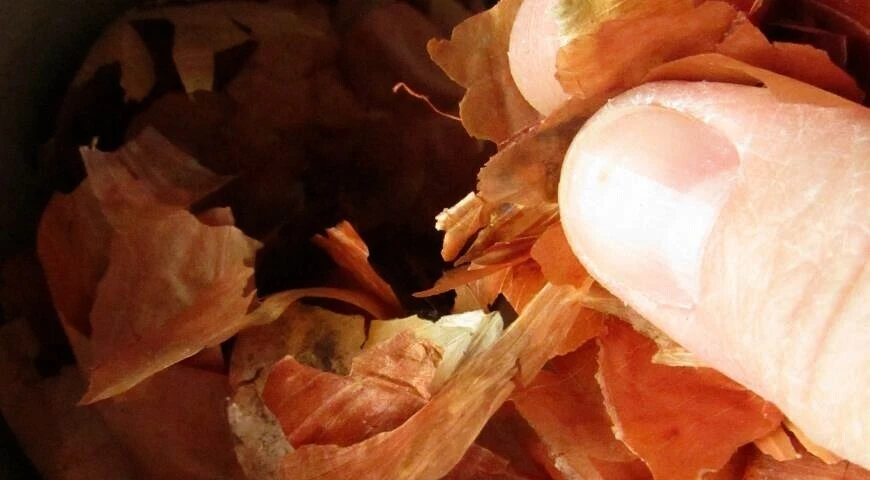
Prepare a decoction of onion peel, for this, put it in a saucepan with a volume of about 1.5 liters. Rub the husk a little with your hands (optional) to get rid of any chunks that are too large, then rinse it under running water. Carefully drain the dirty water (you can through a sieve or holding the husk with your hand) and pour about 1 liter of clean cold tap water.
Step 2
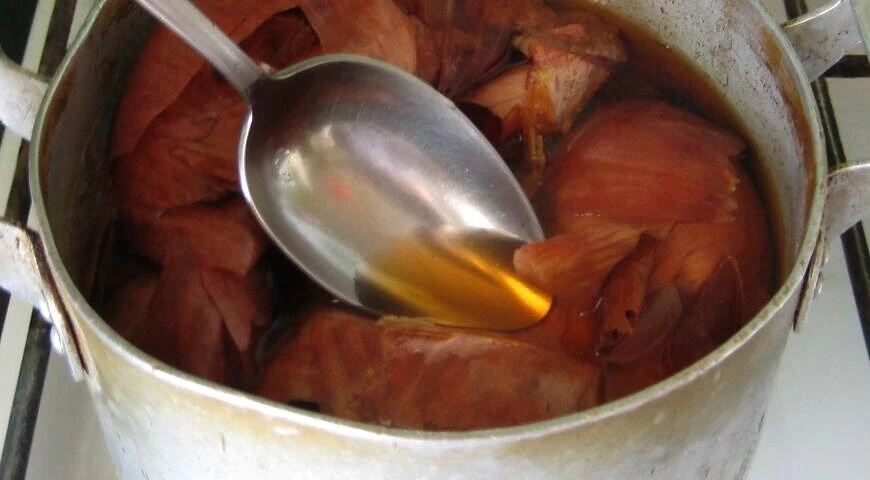
Put the pan on the stove and bring the water in it to a boil over high heat, occasionally stirring the husk with a spoon, then reduce the heat to low and boil the broth for 15-20 minutes. until dark brown. Cool the finished broth completely at room temperature.
Step 3
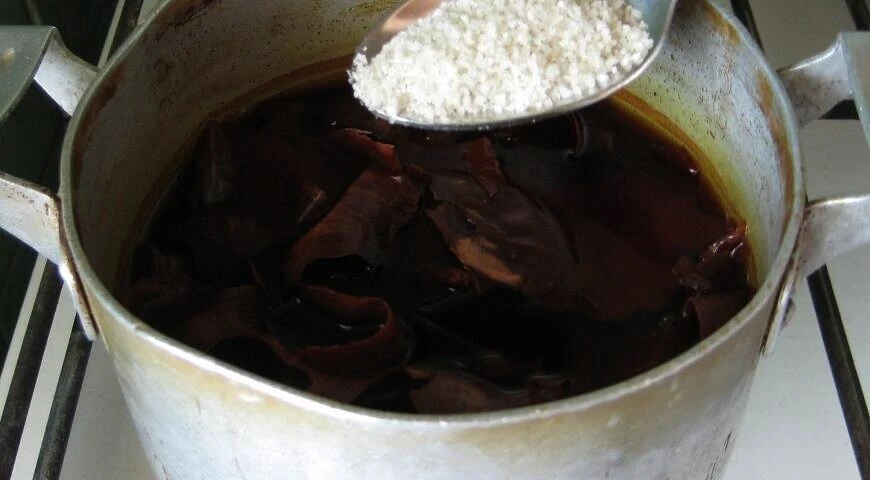
When it cools down, you can start painting the eggs. To do this, pour into the broth 1-1.5 tbsp. l. salt (so that the eggs do not crack and leak out during cooking). Wash raw eggs with soap to remove germs and dirt from their surface, and put them in a saucepan with broth (covering them on top with pieces of husk from broth). Tip: Lay the eggs so that they do not touch each other too tightly, otherwise it may cause uneven coloring. If you want to color a large number of eggs, it is better to boil them in 2-3 steps.
Step 4
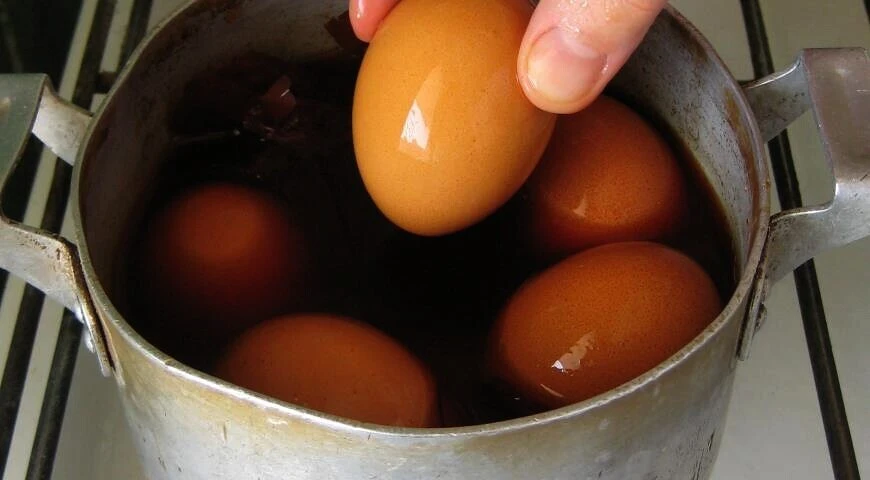
Leave the eggs in this form for an hour or two at room temperature, turning them over with a spoon from time to time to obtain a uniform and more saturated color (although if you are in a hurry, it is not necessary to “soak” the eggs - you can boil them right away - see step 5).
Step 5
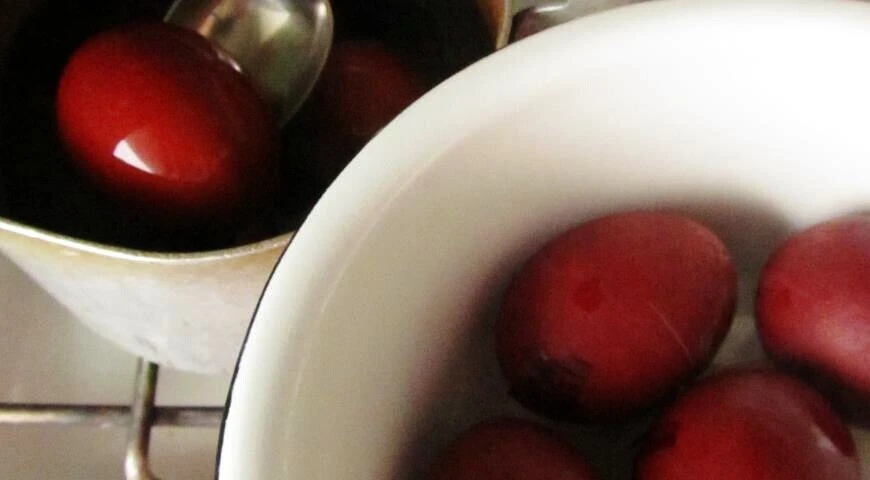
Then put the pan on the fire, bring the broth with eggs to a boil over high heat. After that, reduce the heat to medium and boil the eggs, turning them often with a spoon (for uniform coloring), for 8-12 minutes. (cooking time depends on how long you are going to store the finished eggs after Easter).
Step 6
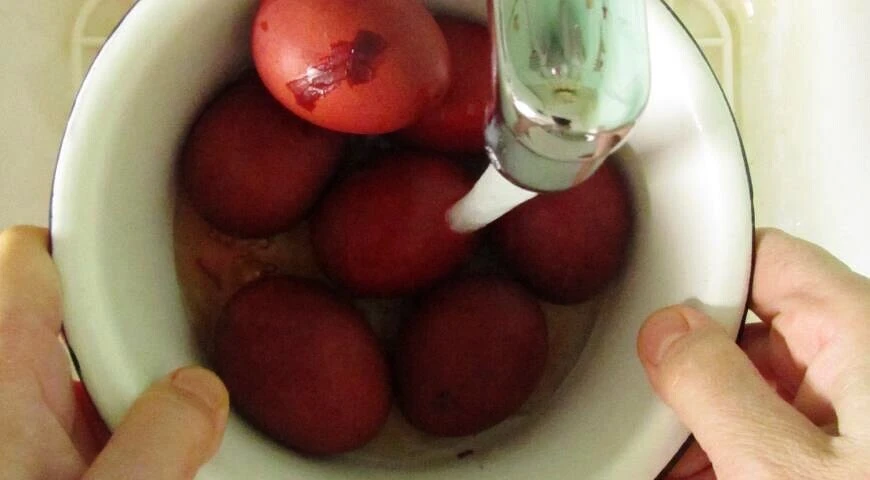
Remove the boiled eggs from the broth, put them in a separate bowl and immediately fill with cold running water, let stand in it for several minutes.
Step 7
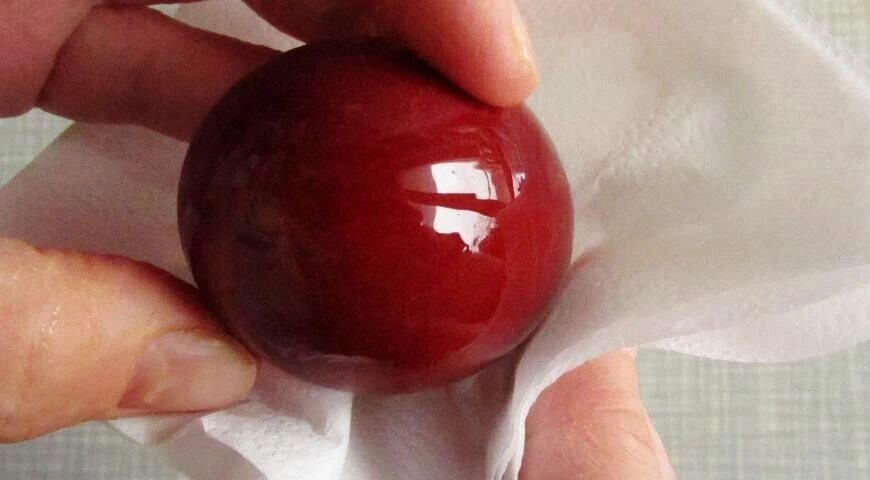
Remove the cooled eggs from the water, dry with a paper towel. On another (preferably soft) napkin or a piece of cotton, drop a little odorless vegetable oil and grease the shells of dyed eggs with it from all sides to give them extra shine. Then wipe with a clean paper towel to remove excess oil. The cooled broth can be used a second time - for a new portion of eggs (by repeating everything from point 3, but without adding additional salt).
Step 8
Store the colored eggs in the refrigerator at about 0-6°C in a separate (can be opened) container until consumed.
Easter eggs "Krashenki" - FAQ About Ingredients, Baking Time and Storage
Reviews: 0
0 Overall ratingHave you already prepared this recipe? Tell what you think.
Write a review
Trending

Azerbaijani kutabs
Kutaby (or gutaby) is a traditional Azerbaijani snack, a thin pie with a filling of ground beef or lamb with the addition of lamb fat. Onions, herbs, cheese, and sometimes even pumpkin are also used for the filling of kutaby. Kutaby are fried in a dr

Tashkent Salad with Radish
The recipe for a salad with radish and beef is called "Tashkent". The root vegetable is popular in Uzbekistan. It is used to make a variety of salads, appetizers and even lagman. The Tashkent salad is an excellent option for a simple and he

Hearty sandwich with Vienna sausages
We tell you how to make an unusual and very filling filling for a sandwich. We used Viennese sausages as a basis. They are the best choice, as they do not have much fat. And to complete the taste, we added a boiled egg and lecho. All that remains is